

Anchor First: Curio Cabinet Setup for Gothic Collectors
Check every part against the manual before you touch a screwdriver, locate a wall stud for the anti-tip strap, then build in order: frame, shelves, doors, lighting, anchor. A successful curio cabinet setup ends with a level frame, doors that close flush, lighting that runs cool, and shelves holding curated groups of items with room to breathe. Skip the anchor step and none of the rest matters.
TL;DR:
- Properly securing the anti-tip strap into a wall stud is critical to prevent tipping, especially in homes with children or pets, and should never be skipped.
- Assembly takes between 60 and 120 minutes for standard models, but ornate or corner units may require significantly more time due to additional glass and trim.
- Use LED puck lights or low-voltage LED strips to illuminate displays, ensuring the lighting remains cool and safe for delicate collectibles.
- Achieve a balanced, visually appealing display by arranging objects in odd numbers, varying heights, and leaving negative space for a less cluttered look.
- Always complete alignment and door adjustments before finishing touches like painting or adding lighting to avoid rework and misalignment issues.
Table of Contents
- What Tools and Prep Do You Need Before Assembly?
- How Do You Assemble a Curio Cabinet Step by Step?
- How Do You Anchor a Curio Cabinet to Prevent Tipping?
- How Do You Fix Crooked Doors or Uneven Glass Gaps?
- What Kind of Lighting Works Best Inside a Curio Cabinet?
- How Do You Arrange Items in a Display Cabinet?
- What Finishing Touches and Maintenance Keep a Curio Cabinet Looking Good?
- How Should You Style a Gothic or Alternative Collection?
- What Do Most People Get Wrong About Curio Cabinet Setup?
- Where Can You Find Curated Pieces to Fill Your Cabinet?
- What Manuals and Guides Should You Check Before You Build?
- Sources
- FAQ
What Tools and Prep Do You Need Before Assembly?
A messy unboxing is where most curio cabinet setups go wrong. Before you crack the box, clear a flat, well-lit workspace, ideally near the cabinet’s final location, since these units get heavy fast once shelves and glass go in.
Tools you’ll want on hand:
- Phillips and flathead screwdrivers
- Allen wrench (usually included with the hardware pack)
- Small socket or nut driver for cam bolts
- A level and tape measure
- A stud finder (non-negotiable for the anti-tip step)
- Work gloves and a soft towel to protect glass panels
Dump the hardware bag onto a tray or sort it into labeled zip bags by step number. Photograph the packaging and part diagram before you toss the box. If a screw goes missing later, that photo saves a trip to the hardware store guessing sizes.
Measure twice before you build anything. Confirm the cabinet’s footprint against its final spot, check that your largest display item clears the door opening, and leave roughly 2 inches of clearance on each side plus about 3 inches behind the unit if you’re running any cords. Grab a second person for lifting. A basic prebuilt curio cabinet typically takes 60 to 120 minutes to assemble, though ornate or corner models with more glass and trim run longer.
How Do You Assemble a Curio Cabinet Step by Step?
Once your parts are sorted and your workspace is clear, the build itself follows a fairly predictable order across most manufacturers. Rushing the sequence, especially skipping ahead to doors before the frame is square, is the single biggest cause of crooked cabinets.
- Unpack and inventory. Lay every part on the floor and match it against the parts diagram in your manual. Group hardware by the step number it belongs to.
- Build the base and frame. Use the cam bolts or dowels exactly as illustrated, and leave a few bolts slightly loose. A frame with some give in it lets you square the whole structure before final tightening.
- Install shelves and shelf pins. For glass shelves, work on a soft towel and never lift a large pane solo. Two people minimum for anything over roughly 18 inches wide.
- Fit the doors last. Mount hinges loosely first, hold the door in position, and check the gap on both sides before tightening anything fully.
- Tighten everything in sequence. Go back through the loose bolts from step two and snug them down now that the frame is square and the doors hang correctly.
- Add lighting. Run cords after the structure is complete, not before, so you’re not fighting wires while you square the frame.
- Anchor the cabinet. Attach the restraint bracket to the back top rail, mount the wall plate into a stud, and connect the strap before you load a single shelf.
The order matters more than the speed. A 9-step community build guide makes the same point: leave fasteners loose early, because tightening too soon locks in whatever slight misalignment came out of the box, and you’ll fight it through the whole rest of the build.
Pro Tip: Do a dry fit of both doors before you tighten a single hinge screw. Hold each door shut, eyeball the gap top to bottom, and adjust the hinge position while everything’s still loose. Fixing alignment after final tightening means backing out four or six screws instead of two.
Glass shelf pins deserve a second look before you load anything onto them. They’re small, they’re easy to seat at a slight angle, and a pin that’s not fully engaged is how a shelf ends up in pieces on the cabinet floor. Press each one in until it seats flush, then give the shelf a gentle push test before adding weight.
How Do You Anchor a Curio Cabinet to Prevent Tipping?
Anti-tip anchoring is not optional, and manufacturer manuals treat it as a required installation step rather than an accessory. Tall, top-heavy cabinets loaded with glass and collectibles are genuinely dangerous if a curious kid, a pet, or an unlucky bump sends them forward.
Start with a stud finder and mark the wall at the stud center closest to where the cabinet will sit. Manufacturer instructions typically call for attaching the restraint bracket to the cabinet’s back top rail first, then mounting the wall plate roughly 2 inches below it, secured with long screws driven into the stud, not just drywall anchors. Coaster’s curio cabinet manual specifically warns against moving the cabinet once the strap is connected without detaching it first, since dragging against a fixed anchor point can bend the bracket or tear the wall plate loose.
Once both pieces are mounted, thread the restraint strap between them and remove all slack. Test it by gently rocking the top of the cabinet forward. It should barely move.
Build a quick annual habit around this hardware:
- Inspect the strap and brackets once a year for stretching or rust
- Retighten any fasteners that have worked loose
- Move your heaviest pieces to lower shelves if the cabinet sees foot traffic nearby
How Do You Fix Crooked Doors or Uneven Glass Gaps?
Shipping shifts hinges more often than people expect, and a door that looked fine on the truck can arrive tilted a few millimeters. Fix the top hinge first. Most pivot hinges include a small set screw, usually accessible from inside the cabinet, and adjusting it is how you fine-tune the gap without removing the whole door.
If both doors meet unevenly in the middle, loosen the hinge screws on the offending door, hold a level against it, and re-tighten the screws one at a time rather than all at once. Tightening in sequence keeps the door from shifting again as you work. Howard Miller’s instruction manual walks through this exact adjustment order for its display cabinets, and the same logic applies across most hinge styles.
A few more things worth knowing before you force anything:
- Never fully tighten door screws until you’ve confirmed the gap looks even top to bottom
- Swap out any shelf pin that looks bent or worn rather than reusing it
- Pad glass shelves with a towel any time you’re repositioning them, even briefly
- If a pane arrives cracked or a hinge is missing a part, stop and contact the vendor rather than forcing a substitute into place
What Kind of Lighting Works Best Inside a Curio Cabinet?
Lighting turns a plain shelf into a display, but it can also cook your collectibles if you pick the wrong bulb. LED puck lights or low-voltage LED strips are the standard recommendation for enclosed cabinets because they run cool and won’t fade fabric, warp wax figures, or crack old resin over time. Battery-powered LED pucks skip the wiring entirely, at the cost of swapping batteries every so often.
If you’re running wired strips, route the cord down a back corner using cable clips, and leave a little slack wherever a door closes near the wire run. A pinched cord in a door frame is a fast way to short a strip or crack the housing.
Layout choices that matter:
- Top-mounted lighting spreads even illumination across every shelf
- Shelf-mounted strips highlight lower tiers individually but can create hot spots if you’re not careful with spacing
- Combining both works, but test the effect before committing, since overlapping light sources can wash out texture on darker pieces
- Skip halogen entirely inside an enclosed case; it runs far hotter than LED and has no business near delicate collectibles
A glow-piece lighting guide from Fly Miami covers similar ground for illuminating delicate art objects at home, and the core principle carries over directly to curio cabinets: light from an angle, keep the source cool, and never let a bulb sit close enough to touch what it’s lighting.
Pro Tip: Angle a single LED strip toward the back panel instead of straight down. The bounced light softens shadows across the whole shelf and avoids the harsh glare you get from lighting straight onto glossy or reflective pieces.
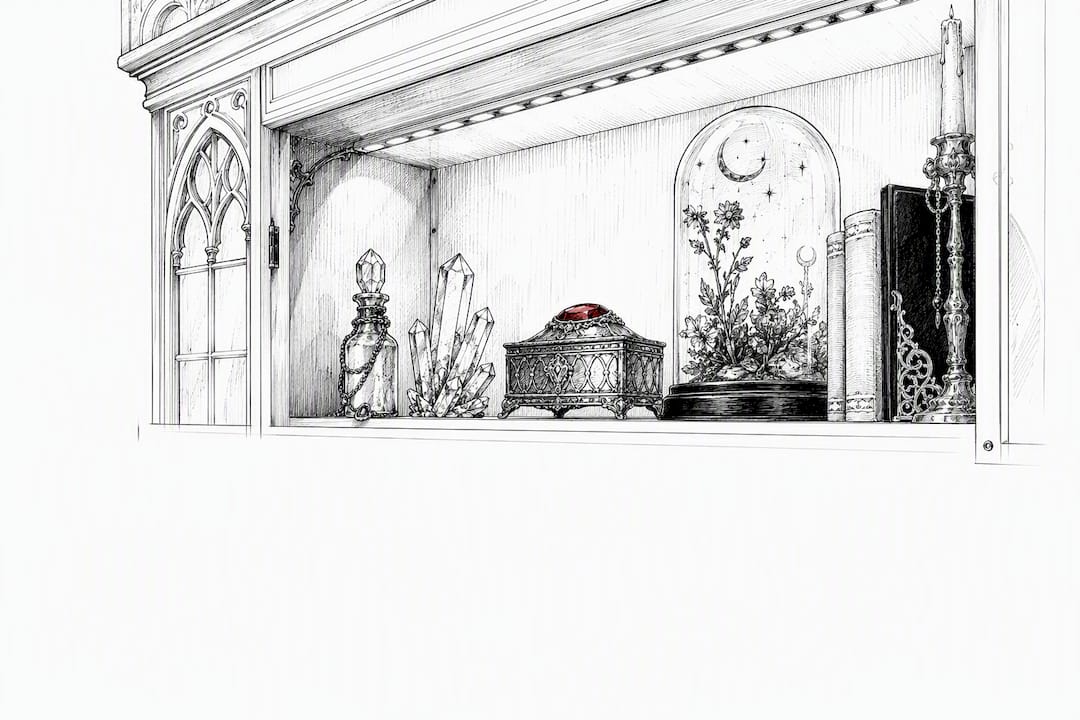
How Do You Arrange Items in a Display Cabinet?
Once the cabinet is built and anchored, the real work starts. An empty shelf with three matched figurines lined up in a row looks like a store display, not a collection. Odd-number groupings, typically three or five objects, read as intentional in a way that even numbers rarely do, and it’s a rule interior stylists and museum curators lean on constantly.
Vary height within each grouping. A tall candlestick, a mid-height skull, and a low dish of polished stones reads far more interesting than three items of similar size lined up shoulder to shoulder. Negative space matters just as much as the objects themselves. A shelf packed edge to edge looks cluttered no matter how good the individual pieces are; give each grouping room to breathe and the eye naturally settles on the focal piece instead of skimming past everything at once.
Balance your display vertically across shelves rather than stacking all your best pieces on eye level and leaving the top and bottom bare. Move a striking piece to the top shelf and a quieter one to the bottom, and the whole cabinet feels considered rather than lopsided.
Mixing textures keeps a shelf visually active: glass against matte ceramic, aged metal against soft textile, rough stone against polished resin. A shelf where everything shares the same finish tends to flatten out and blur together, even when the individual pieces are striking on their own.
The most useful trick costs nothing. Arrange a shelf, step back, photograph it from where a visitor would actually stand, and look at the photo rather than the shelf itself. Cameras flatten depth and expose crowding or awkward gaps that your eye glosses over in person. Adjust, reshoot, repeat. GothMarket’s guide to displaying gothic collectibles walks through this staging process in more depth if you want a longer read on it.
What Finishing Touches and Maintenance Keep a Curio Cabinet Looking Good?
The back panel does more visual work than most people expect. A painted panel in a contrasting color makes pale objects pop, peel-and-stick wallpaper adds pattern behind a sparse collection, and mirrored backing tricks the eye into seeing twice the depth, particularly useful in a narrow corner cabinet.
Cleaning is simple but easy to neglect. Wipe glass every two to four weeks with an ammonia-free cleaner, since ammonia can cloud certain glass coatings over time. Dust and polish wood surfaces every six to twelve months depending on the finish; a high-gloss lacquer needs less frequent attention than raw or oiled wood.
A short annual maintenance list is worth keeping on your calendar:
- Replace any shelf clips that feel loose or worn
- Retighten hardware that’s worked loose from door use
- Recheck the anti-tip restraint any time the cabinet gets moved, even a few feet
- Add felt pads under heavy display objects to protect the shelf finish and cut down on vibration when doors close
If you’re taking on a full refinish rather than a straight assembly, plan for real time. A detailed custom curio build using hardwood, beveled glass, and hand-applied finish work ran over 100 hours start to finish, a useful reminder that basic assembly and full custom finishing are two very different projects with very different time budgets.
How Should You Style a Gothic or Alternative Collection?
Dark objects photograph muddy against dark backgrounds. Pair black-finished metalwork, obsidian, or aged bronze pieces with a lighter or mirrored back panel, and the texture and detail that gets lost against a dark wood interior suddenly shows up clearly.
Directional LED accents earn their keep here. A single warm-white strip angled across a raven skull or wrought iron piece brings out the relief and shadow that flat overhead lighting flattens out, and it does it without adding the heat a halogen puck would.
For genuine oddities, taxidermy, bone, antique medical curiosities, provenance is part of the presentation. A small handwritten or printed card noting origin and history adds legitimacy and respects where the sourcing came from ethically. GothMarket’s guide to gothic art curation and its piece on oddities collecting ethics both go deeper into sourcing and labeling if you’re building out a serious collection.
What Do Most People Get Wrong About Curio Cabinet Setup?
The mistake I see most often is finishing touches happening before alignment is locked in. People paint the back panel or add lighting while a door still hangs slightly off, and the paint or hardware then has to be redone once the door finally gets adjusted. Alignment comes first, always.
The second mistake is treating the anti-tip strap as optional decor hardware. It isn’t. Any tall cabinet in a home with kids, pets, or heavy foot traffic needs that strap anchored into a stud, full stop.
Keep a small spare parts kit around after the build: extra shelf pins, a handful of the small screws your model uses, and a few felt pads. Something always goes missing eventually, and having a backup on hand beats a special order for one screw.
— Rey
Where Can You Find Curated Pieces to Fill Your Cabinet?
Once the cabinet is anchored and the shelves are ready, the next challenge is usually finding pieces worth displaying, and that’s where sourcing everything yourself gets time-consuming fast. There are marketplaces built specifically for dark, alternative, and gothic aesthetics offering occult jewelry, witchy curiosities, handmade oddities, and dark decor from independent creators rather than mass-produced imports.

If piecing together a cohesive collection one estate sale and one online listing at a time isn’t how you want to spend your weekends, browsing a curated marketplace gets you there faster. Every listing comes from an independent vendor working in this aesthetic specifically, so you’re not sifting through generic home decor to find the one piece that fits your shelf. Start browsing the Goth for display-ready pieces, from statement candlesticks to occult wall art, and start filling those newly anchored shelves with something worth looking at.
What Manuals and Guides Should You Check Before You Build?
Every cabinet model has its own quirks, so treat this article as the general framework and defer to your specific manual wherever the two disagree.
- The general curio cabinet assembly manual covers parts identification, hardware lists, and anti-tip installation in detail.
- The Instructables curio build guide offers illustrated, photo-by-photo steps for a typical build.
- Coaster’s user manual lays out anti-tip restraint installation with model-specific diagrams.
Sources
- CURIO CABINET (assembly manual PDF)
- Coaster CURIO CABINET - User Manual
- Howard Miller curio display cabinet instruction manual (hinge adjustment)
- Ron’s curio cabinet (project)
FAQ
How do you build a curio display cabinet?
Sort and check all hardware against the manual, assemble the frame and base first with fasteners slightly loose, install shelves and shelf pins, fit the doors last, add lighting, then anchor the cabinet to a wall stud before loading any items.
What’s the difference between a curio cabinet and a display cabinet?
The terms are largely interchangeable in casual use, but “curio cabinet” typically implies a smaller, often glass-enclosed piece meant for collectibles and curiosities, while “display cabinet” can describe larger furniture, including open shelving units and hutches.
How do you arrange items in a display cabinet?
Group objects in odd numbers, usually three or five, vary their heights within each group, and leave negative space around focal pieces instead of packing shelves edge to edge. Mixing textures like glass, metal, and matte finishes keeps the eye moving across the shelf.
How do you assemble a corner curio cabinet?
Corner units follow the same general sequence as standard cabinets: base and frame first, then shelves, then doors, then lighting and anchoring, but always measure the tightest angle of your room to confirm the unit’s back panel fits flush before final assembly.
How long does curio cabinet assembly take?
A basic prebuilt curio cabinet typically takes 60 to 120 minutes for one or two people, while ornate or corner models with more glass and trim can run longer. A full custom build with hand-finishing can take a very large amount of time, often many dozens of hours.
Do you really need an anti-tip strap on a curio cabinet?
Yes. Manufacturer manuals treat anti-tip restraint installation as a required step, not an accessory, and it’s the single most important safety measure in any curio cabinet setup, especially in homes with kids or pets.
What lighting is safest inside a curio cabinet?
LED puck lights or low-voltage LED strips are the safest choice because they run cool and won’t damage delicate materials over time. Avoid halogen or other high-heat bulbs inside any enclosed cabinet.