

Self Lace a Corset: V Method for Gothic Beginners Using Waxed Cord
The fastest way to lace a corset yourself is the crisscross “V method” with bunny ears: start at the top grommets, cross the laces down to your natural waist to form two loops, pull those loops tight first, then work slack from the top down and the bottom up to meet in the middle. Leave a small, even gap down the back, never wrap the lace around your torso, and tie off at the waist once both sides match.
TL;DR:
- Waxed cotton or braided synthetic lace provides superior grip and tension retention compared to satin ribbon, especially for long wear and active use.
- Pre-lace the corset flat and thread from the top down to save time, then tighten from the waist outward in a standardized order to avoid uneven tension.
- Maintaining a back gap of one to two inches allows flexibility for breathing and body fluctuations, which typically narrows with wear.
- For overbust corsets with twenty or more grommets per side, fan lacing distributes tension more evenly and is easier for those with limited shoulder mobility.
- Properly tying at the back and avoiding unnecessary wrapping around the torso prevents pressure points and ensures a more comfortable, secure fit.
Table of Contents
- What Tools and Lace Do I Need Before I Start?
- How Do I Lace a Corset Step by Step?
- How Do I Tighten and Adjust for Even, Comfortable Tension?
- Which Lace Type and Length Actually Hold Up?
- What Are the Most Common Lacing Mistakes?
- Does Lacing Style Change for Alternative and Gothic Looks?
- What’s the Real Takeaway After Learning This Method?
- Where Can I Find Sturdy Laces and Modesty Panels?
- Which Articles Back These Lacing Techniques?
- Sources
- FAQ
What Tools and Lace Do I Need Before I Start?
Skip satin ribbon. It looks nice on a garment bag, but it slips, frays, and stretches out of shape under real tension. Waxed cotton and braided synthetic cord grip the grommets and hold their tension far better, which matters more than looks once you’re three hours into a night out.
Here’s what to gather before you touch a grommet:
- A single length of waxed cotton or braided synthetic lace (not two separate laces)
- A modesty panel, if your corset has one, to cover the back gap
- A mirror, or a doorknob or sturdy bedpost to anchor the lace while you work solo
- Scissors and heat-shrink tubing or aglets for finishing the ends
Check your busk (the front closure) before lacing anything. It should sit flat and close easily. If it’s fighting you at the front, tightening the back lacing won’t fix it.
Pro Tip: Measure your corset’s total grommet length and add a suitable extra length for lace, depending on corset type, before buying. Most sellers list finished cord length, so round up rather than down.
How Do I Lace a Corset Step by Step?
The V method, sometimes called bunny-ear lacing, is the standard self-lacing technique because it lets you tighten from a fixed point at your waist instead of yanking blind at your back. The Lingerie Addict’s breakdown of this method is where most modern tutorials trace back to, and it holds up because it’s simple enough to do in a mirror on your first try.
- Pre-lace off your body. Lay the corset flat and thread the lace before you ever put it on. This is the single biggest time-saver for solo lacing.
- Start at the top. Thread the lace through the top two grommets from the inside out, leaving even tails on both sides.
- Crisscross downward. Cross the laces over each other, threading outside to in, working down toward your natural waist.
- Form the bunny ears. At your waist point, instead of crossing straight through, leave two loops (the “ears”) hanging loose. These become your tightening handles later.
- Continue to the bottom. Keep crossing the lace down to the last grommet, then tie a small loop or knot to anchor it.
- Put the corset on and close the busk. Slide it on like a jacket, then fasten the front.
- Pull the bunny ears to cinch. Grab both loops and pull outward, away from your body, to tighten the waist first.
- Tie off at the back. Once tension feels even, tie the bunny ears in a secure bow or double knot.
Keep the same over-under pattern the entire way down. Switching direction partway is the number one cause of twisted, uneven lacing that bunches at random grommets.
Pro Tip: If your corset has 20 or more grommets per side, consider fan lacing instead. Fan lacing distributes tension across multiple straps so you tighten with one pull per side, which is genuinely useful if you have limited shoulder mobility, though it gives up some fine-tuning compared to a standard crisscross.
How Do I Tighten and Adjust for Even, Comfortable Tension?
Tightening in the wrong order is why so many first-timers end up lopsided or breathless. Work in this sequence instead:
- Pull the bunny ears first. This sets your waist measurement and gives you a baseline to work from.
- Move slack from the top down. Starting at grommet one, pull a small amount of slack toward the waist, repeating grommet by grommet.
- Move slack from the bottom up. Do the same starting at the last grommet, working upward to meet the waist point.
- Check the back gap. Both sides should form a straight, parallel opening, not a wedge that’s wider at the top or bottom.
A gap of roughly one to two inches down the back is normal and even useful for a first-time or unseasoned corset. It gives you room to adjust for bloating, breathing, and body changes throughout the day without having to relace from scratch. As the corset seasons over several wears, that gap typically closes a bit as the fabric relaxes to your shape.
Before you call it done, run two quick checks. Take a full breath. If you can’t, loosen slightly. Then reach overhead and bend side to side. If the corset digs in painfully or you can’t move at all, redistribute more slack from the top and bottom sections rather than just loosening the waist loops.
Pro Tip: Anchor the bunny ears around a doorknob at waist height while you thread the rest of the corset. It gives you two free hands and keeps your waist tension from slipping while you work.
Which Lace Type and Length Actually Hold Up?
Waxed cotton and high-quality braided synthetic cord outperform satin ribbon in every practical way that matters for a garment under real pull. Satin looks elegant folded on a hanger, but it stretches, slips through grommets, and frays at friction points within a few wears.
- Diameter: choose lace slightly narrower than your grommet’s inner diameter so it slides without binding.
- Underbust corsets: roughly 3 to 3.5 yards of lace is typical.
- Overbust corsets: roughly 4 to 4.5 yards, since you’re covering more grommets.
- Finishing: seal cut ends with heat-shrink tubing, metal aglets, or a dab of clear nail polish to stop fraying.
Confirm length by counting your corset’s total grommets rather than trusting a generic size chart. A 24-grommet underbust and a 32-grommet overbust need noticeably different amounts of cord, and running short mid-lace is a frustrating way to end a fitting session.
What Are the Most Common Lacing Mistakes?
Most lacing problems trace back to one of a handful of habits, and all of them are fixable in under a minute once you know what to look for.
- Tying laces around your body instead of at the back. This creates pressure points and defeats the bunny-ear system entirely. Always tie off behind you.
- Uneven tension on one side. Fix it by redistributing slack in small sections, top and bottom, rather than yanking one spot harder.
- Slippery or frayed lace. If your cord keeps loosening on its own, it’s likely satin or a worn synthetic. Replace it with waxed cotton or braided cord.
- Lace too short. If you run out before reaching the bottom grommets, tie off what you have and finish with a second length knotted discreetly at the back, or order longer cord next time.
Pro Tip: Keep a spare six inches of matching lace in your bag for events. If a section frays mid-evening, you can knot in a quick extension without unlacing the whole corset.
Does Lacing Style Change for Alternative and Gothic Looks?
Function and aesthetic don’t have to compete here. A sturdy braided cord in matte black or deep burgundy does the mechanical job of holding tension while also reading as intentional styling rather than an afterthought. Modesty panels in black mesh, lace, or brocade hide the back gap and keep the silhouette clean under a fishnet layer or corset-backed dress.
Grommet finish matters too. Antique brass and gunmetal hardware tend to read better against black or burgundy fabric than shiny nickel, and they hold up to repeated lacing without the plating wearing off. If you’re building out a full gothic wardrobe, matching your lace color and hardware finish to your existing pieces makes the corset look designed, not borrowed from a costume shop.
What’s the Real Takeaway After Learning This Method?
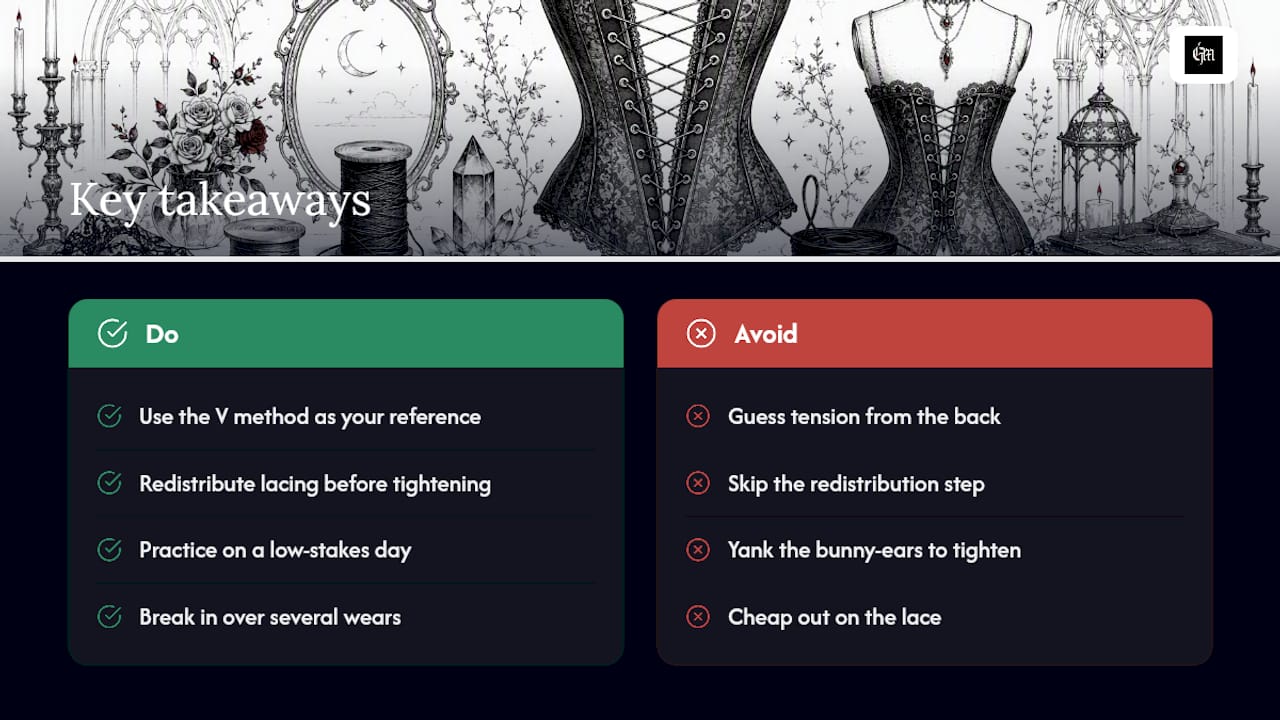
The V method works because it gives you a fixed reference point, your waist, instead of asking you to guess at even tension from the back where you can’t see anything. Most people who struggle with lacing aren’t doing the crosses wrong. They’re skipping the redistribution step and just yanking the bunny ears until it feels tight, which leaves the top and bottom loose and the corset feeling wrong within an hour.
Practice on a low-stakes day before you wear a corset somewhere that matters. Let a new corset season over several wears rather than forcing a tight close on day one, and don’t cheap out on the lace itself. A five-dollar difference in cord quality is the difference between retying every twenty minutes and forgetting you’re wearing laces at all.
— Rey
Where Can I Find Sturdy Laces and Modesty Panels?
This is a curated marketplace focusing on alternative and gothic style, offering pieces selected for their performance and appearance rather than mass-market inventory. That matters here because the lace and panel choices this tutorial recommends, waxed cotton or braided cord in matte black or deep burgundy, aren’t always easy to find at a regular fabric shop.

Independent creators sell modesty panels, replacement lace, and grommet hardware finished to match darker aesthetics, from antique brass to gunmetal. If you’re outfitting a corset-backed dress or shopping for lace-up styling to complete a look, browse the Goth and check current listings for lace, panels, and hardware before your next lacing session.
Which Articles Back These Lacing Techniques?
The V method and bunny-ear tightening sequence come from The Lingerie Addict’s step-by-step guide, with back-gap guidance from their companion piece on lacing gaps. Material recommendations draw on Anarchy Label’s fitting guide, fan lacing details from Madalynne, and pre-lacing tips from Katherine Haircare’s beginner tutorial.
Sources
- How to Lace a Corset: V Method + Bunny Ears — The Lingerie Addict
- Fan lacing a corset: a practical guide for the Monet — Madalynne
- How to lace a corset perfectly for comfort & fit — Anarchy Label
- How to lace up a corset for beginners — Katherine Haircare
FAQ
How Do You Properly Lace a Corset?
Use the crisscross V method: thread the lace top to bottom, form loops at your waist (“bunny ears”), pull those loops tight first, then redistribute slack from the top and bottom sections toward the waist until the back gap is even.
What Do You Use to Lace a Corset?
Use waxed cotton cord or a braided synthetic lace, both of which grip grommets and hold tension far better than satin ribbon. Satin slips and frays under repeated pulling, so it’s a poor choice for anything beyond a costume worn once.
Do You Lace a Corset Dress Up or Down?
Pre-lace the corset flat before putting it on, threading from the top grommet down toward the waist on both sides. Once it’s on your body, you tighten by pulling the waist loops outward, then adjust slack upward from the bottom and downward from the top to meet in the middle.
How Long Should You Lace for a Corset?
Plan for roughly 3 to 3.5 yards of lace for an underbust corset and 4 to 4.5 yards for an overbust style, since overbust designs cover more grommets. Always count your corset’s actual grommets rather than relying on a generic estimate, since panel count varies by brand and style.
How Big Should the Back Gap Be When Lacing a Corset?
A gap of about one to two inches down the back is normal and often recommended, giving you room to adjust for breathing, bloating, and body changes throughout the day. As a new corset seasons over multiple wears, that gap typically narrows somewhat as the fabric and boning relax to your shape.
What Is Fan Lacing and Should I Use It Instead?
Fan lacing distributes tension across multiple straps so you tighten each side with a single pull, which helps if you have limited reach or shoulder mobility. It requires more setup to thread initially and gives you less ability to fine-tune tension at individual grommets compared to standard crisscross lacing.