

Step by Step Gothic Jewelry Making for Crafters
TL;DR:
- Gothic jewelry making involves assembling dark-themed accessories using specialized tools, materials, and techniques that emphasize artistic craftsmanship. Mastering jump ring handling, finishing with patinas, and progressing from simple pendants to advanced settings are essential for creating handmade gothic pieces. Proper post-assembly finishing and surface treatment elevate the aesthetic, making each piece look intentionally aged and unique.
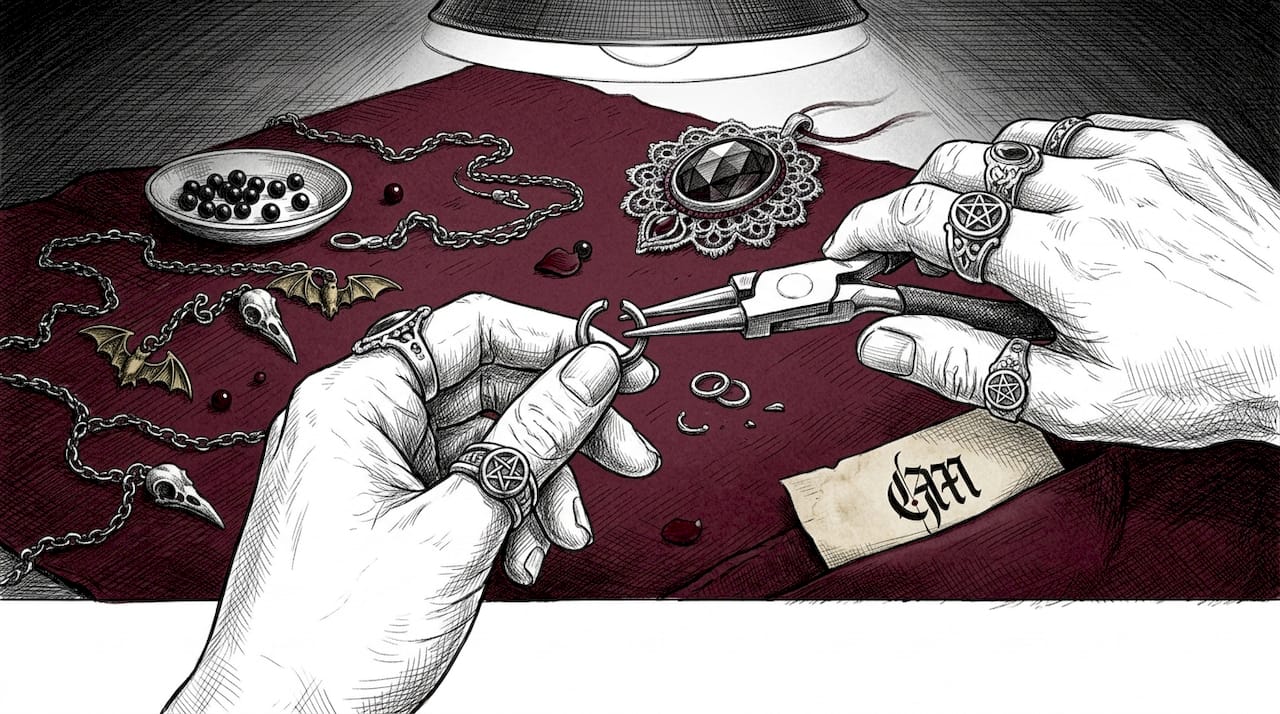
Gothic jewelry making is the craft of assembling dark-themed accessories using specific tools, materials, and techniques that combine artistic vision with hands-on precision. Whether you want to build a lace cabochon pendant, an industrial bib necklace, or a set of safety pin earrings, the process rewards patience and attention to detail. This guide covers everything from your first supply list to advanced wire-setting methods, giving you a clear, practical path through each project. You will work with jump rings, chains, cabochon settings, beads, and finishing chemicals to produce pieces that look genuinely gothic rather than store-bought.
What tools and materials are essential for step by step gothic jewelry making?
Every successful gothic jewelry DIY project starts with the right toolkit. Flat-nose pliers and round-nose pliers are non-negotiable: flat-nose pliers grip and close jump rings without leaving marks, while round-nose pliers shape wire loops and curves. Wire cutters handle chain and wire trimming cleanly, and a quality jewelry adhesive such as E6000 or two-part epoxy bonds cabochons and decorative elements securely.
Materials define the gothic character of your work. Dark metals, antique brass, oxidized silver, and gunmetal finishes read as authentically gothic in a way that bright silver or gold simply does not. Stock up on jump rings in multiple sizes (12mm and 15mm for statement pieces, 4mm to 6mm for connectors), chains in cable and rolo styles, and cabochon settings in oval and round formats. Beads sized 3mm to 4mm work well for detailed bib sections and safety pin projects alike.
The table below shows how a beginner kit compares to an advanced setup so you can plan your investment.
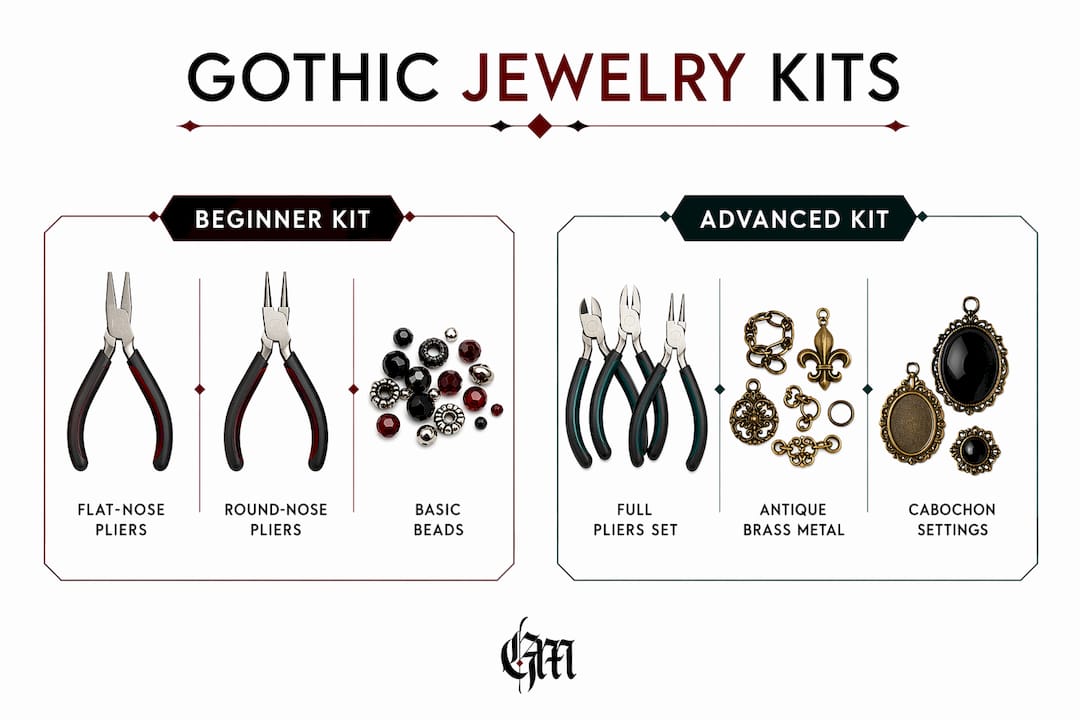
| Component | Beginner kit | Advanced kit |
|---|---|---|
| Pliers | Flat-nose and round-nose | Full set including chain-nose and bent-nose |
| Cutting tools | Basic wire cutters | Flush cutters plus jeweler’s saw |
| Adhesive | E6000 glue | Two-part epoxy plus UV resin |
| Metal components | Antique brass jump rings, cable chain | Sterling silver wire, copper washers, pewter clasps |
| Finishing agents | None | Liver of sulfur solution, metal polish |
| Cabochon settings | Standard oval brass settings | Custom bezel cups, claw settings |
Pro Tip: Source your gothic components from specialty vendors that stock antique-finish metals and pre-made cabochon settings. Goth.Market carries curated gothic supplies that are difficult to find at general craft stores, saving you time hunting for the right aesthetic.
How do you make a gothic lace cabochon pendant necklace?
This is the ideal first project for anyone learning how to make gothic jewelry. Simple cabochon necklaces take 30 to 60 minutes and require only lace, a cabochon setting, beads, jump rings, chain, and glue. The steps below walk you through the full process.
-
Cut the lace. Place your cabochon setting face-down on a piece of black or dark lace. Trace the outline with a fabric marker and cut just inside the line so the lace fits flush inside the setting without bunching at the edges. Sharp scissors or a craft knife on a cutting mat give the cleanest result.
-
Glue and set the cabochon. Apply a thin, even layer of E6000 to the inside of the setting. Press the lace in first, smooth it flat, and let it tack for two minutes. Add a small bead or charm to the center of the lace if you want a focal point, then press the glass cabochon firmly on top. Let the assembly cure for at least 30 minutes before handling.
-
Measure and cut your chains. Decide on a layered or single-strand design. For a layered look, cut two chains at different lengths, for example 16 inches and 18 inches. Measure both pieces against your collarbone before cutting so the finished necklace sits exactly where you want it.
-
Join chains and pendant with jump rings. Open jump rings using a side-to-side twisting motion rather than pulling them apart. Pulling weakens the metal and creates gaps that never close cleanly. Thread the pendant bail onto a jump ring, attach the chain ends, and close the ring firmly with both pliers.
-
Add the clasp and check symmetry. Attach a lobster claw clasp to one chain end and a short length of extension chain to the other. Lay the finished necklace flat on a white surface and compare both sides. Adjust any jump rings that sit at an angle before the glue fully cures.
Pro Tip: If your lace frays after cutting, seal the edges with a tiny amount of clear nail polish or fabric glue before placing it in the setting. This prevents visible fraying under the cabochon.
How to craft an industrial-style bib necklace for gothic costume jewelry
Industrial bib necklaces sit at the intersection of hardware and high-impact gothic accessory making. The raw material list is deliberately unconventional: copper washers, heavy-gauge jump rings, pewter clasps, and chain in mixed link sizes. Bib necklaces use 15mm and 12mm jump rings alongside 3mm to 4mm beads, with a finished necklace length of 18 inches (45.7 cm) as the standard.
Follow these steps to assemble the bib section:
- Lay out your copper washers and jump rings on a flat surface in the shape of the bib you want. Work from the center outward so the design stays symmetrical.
- Connect each washer to its neighbor using a 15mm jump ring, always opening rings with the twisting method to preserve metal integrity.
- Add 3mm beads between washers on smaller 4mm to 6mm jump rings to fill visual gaps and add texture.
- Attach the completed bib section to your 18-inch chain using two 12mm jump rings at each shoulder point.
- Finish with a pewter toggle clasp at the back for a look that matches the industrial aesthetic of the bib.
Finishing is where costume jewelry becomes gothic art. Natural oxidation develops over several weeks of air exposure, but liver of sulfur solution delivers an immediate dark patina. Dip your assembled bib in a diluted liver of sulfur bath for 30 to 60 seconds, rinse in cold water, and buff lightly with a polishing cloth to reveal the high points of the metal texture.
Key finishing considerations:
- Use flat-nose pliers only when handling finished metal to avoid scratching the patina.
- Apply liver of sulfur in a ventilated area. The smell is strong.
- Seal the patina with a thin coat of Renaissance Wax to slow re-oxidation.
Pro Tip: Texture your copper washers before assembly by hammering them lightly on a steel bench block. The irregular surface catches the liver of sulfur patina unevenly, creating a depth that looks far more expensive than the materials cost.
How do you make gothic safety pin bracelets and earrings?
Safety pin jewelry is the most accessible entry point into gothic jewelry DIY. Safety pin projects require only pliers, jump rings, beads, ear hooks, and elastic thread or chain, making them genuinely budget-friendly. The aesthetic payoff is high when you choose the right bead colors: matte black, deep purple, blood red, and gunmetal gray all read as authentically gothic.
Here is what you need and how to use it:
- Safety pins: Standard 1-inch pins work for earrings; 1.5-inch pins suit bracelets.
- Beads: Thread 3mm to 4mm beads onto the pin shaft before closing. Alternate colors or use a single dark palette for maximum impact.
- Elastic thread or jump rings: For bracelets, link decorated pins side by side through their loops using elastic thread or small jump rings. For earrings, attach a single decorated pin to an ear hook via a 4mm jump ring.
- Ear hooks: Standard fishhook ear wires in gunmetal or antique brass finish the gothic look cleanly.
Repurposing everyday hardware like safety pins into dark accessories is a well-established practice in gothic and punk subcultures. The same pins can become brooches by leaving the clasp functional, or finger rings by bending the pin around a mandrel to fit your knuckle. Sizing is the most common pitfall: measure your wrist with a flexible tape before linking pins, and add one extra pin worth of length for comfort.
Pro Tip: For earrings, use only one decorated safety pin per ear hook and keep the bead count to five or fewer. Overloaded pins pull the ear hook forward and sit awkwardly. Less weight means better drape and longer wear.
What are the advanced techniques for gothic cabochon settings?
Bezel and claw settings represent the step up from glue-based projects to professional-level gothic jewelry fabrication. Precision in measuring and creating secure settings is the single biggest challenge for beginners, and mastering it opens the door to work that rivals commercially sold pieces. You will need fine silver or sterling silver wire (typically 1mm to 1.5mm gauge), a jeweler’s saw, needle files, a soldering torch, solder, flux, and a polishing cloth.
Follow this sequence for a claw-set cabochon pendant:
- Measure and cut wire. Wrap a length of wire around the widest point of your cabochon and add 10mm for overlap. Cut four identical lengths for the claws using flush cutters. Accurate cutting here prevents wasted silver.
- File the wire ends. Use a flat needle file to create clean, flat ends on each claw wire. Flat ends solder more securely than rounded ones.
- Solder the frame. Arrange the four wires into a cross shape on a soldering block, apply flux, and touch hard solder to each join point with the torch. Let the frame cool completely before moving it.
- Shape the claws. Use round-nose pliers to curve the top of each claw outward slightly. This creates the classic gothic claw aesthetic and makes it easier to press the claws over the stone later.
- Polish before setting. Run the frame through progressively finer grits of polishing paper, then buff with a polishing cloth. Polishing after the stone is set risks scratching the cabochon surface.
- Set the stone. Place the cabochon in the frame and lock opposite claws first to keep the stone centered. Press each claw down firmly with a burnisher or the flat face of a pusher tool, then close the remaining two claws.
Pro Tip: Cut all four claw wires from the same length of stock wire in a single session. Cutting them at different times introduces tiny measurement errors that compound into a visibly uneven setting.
Key takeaways
Gothic jewelry making produces professional-quality dark accessories when you combine correct tool selection, proper jump ring technique, and deliberate finishing methods at every stage.
| Point | Details |
|---|---|
| Start with the right toolkit | Flat-nose pliers, round-nose pliers, wire cutters, and E6000 glue cover most beginner projects. |
| Master jump ring technique | Always twist rings side to side. Pulling them apart weakens the metal and ruins the closure. |
| Finishing defines the aesthetic | Liver of sulfur patina and metal texturing separate handmade gothic pieces from store-bought components. |
| Build from simple to advanced | Cabochon pendants and safety pin earrings build the skills needed for wire-set and soldered projects. |
| Measure from the center outward | Planning bead counts and chain lengths from the center maintains symmetry in layered designs. |
Why finishing is the skill most gothic jewelry tutorials skip
Most gothic jewelry tutorials focus on assembly and stop there. That is the wrong place to stop. The real difference between a piece that looks handmade and one that looks intentional is what happens after the last jump ring closes.
I have watched crafters spend an hour on a beautiful industrial bib necklace and then skip the patina step because they were eager to wear it. The result is a bright, raw copper piece that reads as hardware, not jewelry. Ten minutes with liver of sulfur changes that completely. The dark, uneven patina that develops in a single dip makes the piece look like it was excavated from somewhere interesting.
The same principle applies to wire-set cabochon work. Polishing the frame before setting the stone is a step that feels counterintuitive because you have not finished building yet. But trying to polish around a set stone always ends in scratches. The sequence matters as much as the technique.
My honest advice for anyone starting out: treat finishing as a separate skill to practice deliberately, not an afterthought. Try liver of sulfur on scrap copper before you use it on a finished piece. Practice closing jump rings on a test chain until you can do it without leaving a visible gap. These small investments in technique pay off in handmade gothic jewelry that you are genuinely proud to wear or sell.
The gothic aesthetic rewards imperfection when that imperfection is controlled. Hammered texture, uneven patina, and asymmetric bead arrangements all work in your favor. What does not work is a loose claw, a visible glue smear, or a jump ring that pops open under light tension. Get the structure right, then let the surface be dark and interesting.
— Rey
Find gothic jewelry supplies and inspiration at Goth.Market
Ready to start your first project or push into advanced wire work? Goth.Market carries a curated selection of gothic jewelry components that are hard to find at general craft retailers.

From antique-finish cabochon settings and gunmetal chains to dark beads and pewter clasps, the marketplace connects you directly with independent vendors who specialize in the gothic aesthetic. You will also find unique gothic accessory ideas to spark your next project and a community of makers who share your interest in dark, handcrafted work. Browse the full gothic jewelry collection at Goth.Market and source everything you need in one place.
FAQ
What is the easiest gothic jewelry project for beginners?
A lace cabochon pendant necklace is the best starting point. It takes 30 to 60 minutes and requires only a cabochon setting, lace, glue, jump rings, and chain.
How do you open jump rings without damaging them?
Open jump rings with a side-to-side twisting motion using two pairs of flat-nose pliers. Pulling the ring apart weakens the metal and creates a gap that will not close cleanly.
What materials give gothic jewelry its dark look?
Antique brass, oxidized silver, and gunmetal finishes create the gothic aesthetic. Liver of sulfur solution adds an immediate dark patina to copper and silver components.
Can you make gothic earrings without soldering?
Yes. Safety pin earrings require only beads, a safety pin, a small jump ring, and an ear hook. No heat tools are needed, making them ideal for beginner gothic accessory making.
How do you keep a claw-set cabochon secure?
Lock opposite claws first to center the stone, then close the remaining claws. Polishing the frame before setting the stone prevents scratches on the cabochon surface.