

Dark Aesthetic Photography Step by Step: A Full Guide
TL;DR:
- Dark aesthetic photography uses deliberate shadows and highlights to create moody images that emphasize emotion. Achieving this style requires careful control of lighting, camera settings, and post-processing to sculpt depth and atmosphere intentionally.
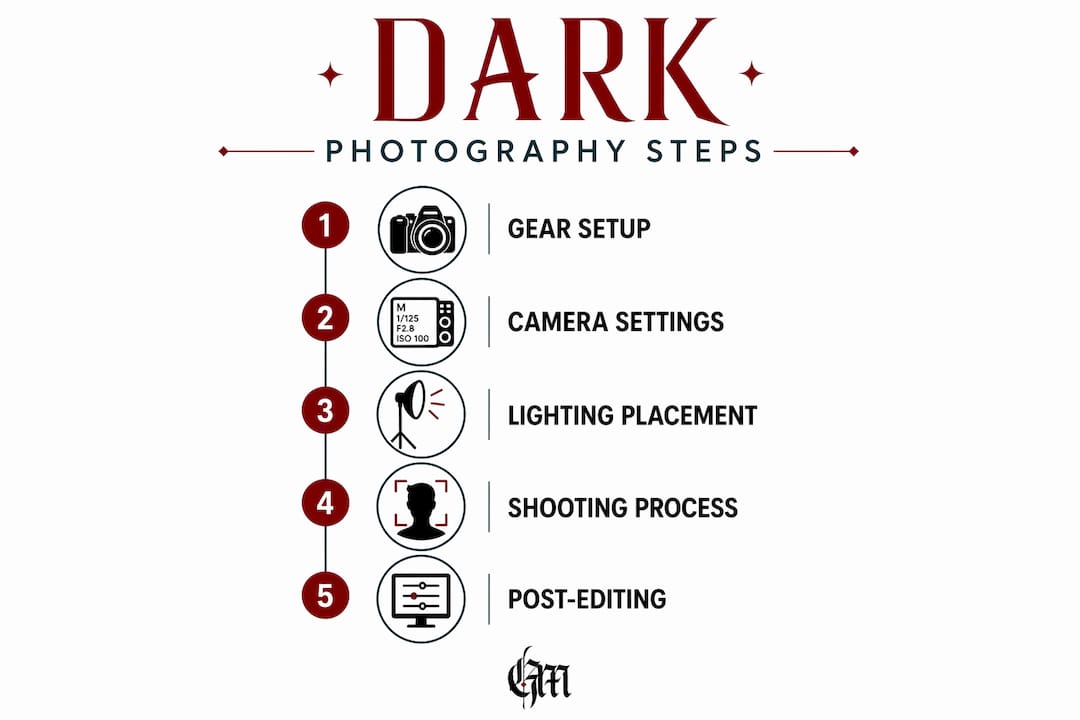
Dark aesthetic photography is the intentional use of controlled shadows, selective highlights, and deliberate underexposure to create images that feel moody, dramatic, and emotionally charged. Professionals call this approach “low-key photography,” and mastering it requires more than simply dimming the lights. This dark aesthetic photography step by step guide covers every stage: gear selection, camera settings, lighting setup, shooting workflow, and post-processing in Lightroom or Photoshop. Follow this process and you will build a portfolio that communicates atmosphere, not just subject matter.
What is dark aesthetic photography step by step?
Dark aesthetic photography is not just underexposure. It is controlled shadow and highlight use to sculpt emotion and mood. The difference matters because random underexposure produces muddy, flat images, while intentional shadow placement creates depth, tension, and visual storytelling. Every decision, from where you position your key light to how far you pull the Blacks slider in Lightroom, serves the emotional goal of the image.
The style draws heavily from film noir cinematography and chiaroscuro painting, both of which use stark contrast between light and dark to direct the viewer’s eye. Photographers like Matt Black have built entire careers on this principle, proving that darkness is a compositional tool, not a technical failure.
What camera gear do you need for dark photography?
Full-frame DSLR and mirrorless cameras are the best starting point for low-key work. Their larger sensors capture more light per pixel, which reduces noise at the higher ISO values you will use in dim conditions. Cameras from Canon, Nikon, and Sony all offer full-frame options that handle shadow detail well.
Fast prime lenses are non-negotiable for this style. A 50mm f/1.8 or 85mm f/1.4 lets in significantly more light than a kit zoom, giving you cleaner images and shallower depth of field that isolates your subject against dark backgrounds. For a reliable technical baseline, start at shutter 1/250s, aperture f/4, ISO 100–200 with a hard, side-positioned key light. Adjust from there based on your scene.
Neutral density filters like ND4 or ND8 reduce exposure without changing your lighting ratios. This matters when you are shooting outdoors in bright conditions but want a cinematic, dark look without overcomplicating your light setup.
Recommended camera settings by scenario
| Scenario | ISO | Aperture | Shutter Speed | Notes |
|---|---|---|---|---|
| Studio portrait | 100–200 | f/4 | 1/250s | Hard side key light |
| Indoor ambient | 800–1600 | f/2.8 | 1/60s | Use a tripod |
| Blue hour outdoor | 400–800 | f/2.8 | 1/125s | Natural mood backdrop |
| Bright day with ND filter | 100–200 | f/4 | 1/250s | ND4 or ND8 recommended |
Pro Tip: Shoot in RAW format every time. JPEG compresses shadow data, and you will lose the detail you need when pulling Blacks and Shadows in post-processing.
How do you use lighting to create a moody dark image?

Hard directional lighting is the foundation of dark aesthetic work. Side lighting, also called Rembrandt lighting when it creates a small triangle of light on the shadowed cheek, sculpts the face and body with deep contrast. Soft, diffused light flattens that contrast and kills the mood you are after.
Flags, grids, and barn doors are the tools that give you control over where light falls and where it does not. A flag is simply a black panel that blocks light from spilling onto areas you want to keep dark. A grid narrows the beam of a strobe or continuous light so it hits only your subject. These modifiers are what separate intentional dark aesthetic work from accidental underexposure.
Common lighting mistakes to avoid:
- Placing your key light directly in front of the subject, which eliminates shadow and flattens the image
- Using a large softbox without a grid, which causes light to spill everywhere
- Relying on ambient room light as your only source, which creates uncontrolled, unflattering shadows
- Forgetting to flag your background, which lets stray light wash out the darkness you are building
Blue hour lighting offers a deep blue backdrop that creates natural mood and complements your highlights and shadows for atmospheric outdoor shots. Shoot in the 20–30 minutes after sunset when the sky holds color but the light is low and directional.
Pro Tip: Position your key light at a 45-degree angle to your subject and place a black reflector on the opposite side to absorb light rather than bounce it. This deepens shadows without adding a fill light.
Step-by-step shooting process for dark aesthetic photos
A clear shooting workflow prevents the most common technical failures before they happen. Follow these steps on every shoot.
- Plan your scene. Decide on your subject, background, and emotional tone before you pick up the camera. Sketch a rough lighting diagram. Dark aesthetic work rewards pre-visualization.
- Scout and set your background. A dark, textured background, such as a brick wall, draped fabric, or gothic decor, gives shadows somewhere to live. Check out gothic home decor setups for backdrop ideas that match the aesthetic.
- Set your camera to manual mode. Use your baseline settings (1/250s, f/4, ISO 100–200) and adjust from there. Spot metering on your subject’s lit side gives you the most accurate reading.
- Position your key light. Place it at 45 degrees to the side and slightly above eye level. Use a grid or barn doors to control spill.
- Focus manually. Autofocus struggles in low contrast dark scenes. Switch to manual focus and use Live View zoom to lock onto a bright point on your subject, such as the catchlight in the eye or a highlight on the cheekbone.
- Shoot a test frame and evaluate. Check your histogram. You want the bulk of tonal data pushed to the left, but not clipped entirely. A small spike at the far left means you are losing all shadow detail.
- Adjust and shoot your full sequence. Shoot close. Shooting at 1–3 meters and chasing hard directional light produces the most compelling moody portraits. Embrace imperfection in framing and expression.
Pro Tip: Modern full-frame sensors produce clean images up to ISO 12,800, with AI denoise tools extending usability to ISO 25,600 and beyond. Do not be afraid to push ISO in exchange for a faster shutter speed that eliminates motion blur.
How do you edit dark aesthetic photos in Lightroom or Photoshop?
Post-processing is where dark aesthetic photography either succeeds or collapses. The goal is not to make a dark image darker. The goal is to sculpt tonal relationships so that shadows feel intentional and highlights feel earned.
Follow this editing workflow in Lightroom:
- Reduce overall exposure by 1.5–2.5 stops. This is the standard starting point for dark dramatic edits. It shifts the entire tonal range down without destroying your highlights.
- Adjust Blacks to +10 to +20 and Shadows to +20 to +30. This counterintuitive move lifts the darkest tones slightly so you preserve texture and structure in shadow areas.
- Increase Contrast by 20–40 points. This separates your midtones from your shadows and gives the image visual punch.
- Color grade your shadows and highlights. Add cool tones (blues and purples) to shadows and warm tones to highlights. This split-toning technique deepens mood and creates palette cohesion. Desaturate greens and yellows to prevent any colors from feeling out of place.
- Add subtle grain. A grain value of 20–35 in Lightroom’s Effects panel adds film texture that makes digital dark images feel more organic and less clinical.
- Check your blacks. Avoid completely crushing blacks. Pull the black point down, then lift Shadows slightly to retain texture and form. A fully crushed black is a flat, dead black. A balanced black has depth.
Pro Tip: Create a Lightroom preset from your first successful dark edit. Apply it as a starting point on future images and adjust from there. This builds visual consistency across your portfolio.
Editing comparison: common approaches
| Technique | Effect | Risk if overdone |
|---|---|---|
| Exposure reduction 1.5–2.5 stops | Shifts tonal range dark | Muddy midtones |
| Blacks +10 to +20 | Preserves shadow texture | Lifts blacks too much |
| Cool shadow grading | Adds mood and depth | Unnatural skin tones |
| Grain 20–35 | Film texture, organic feel | Distracting noise |
| Contrast +20 to +40 | Separates tones | Harsh, unnatural look |
What are the most common mistakes in dark aesthetic photography?
Overexposure is the most frequent error. Photographers who are not used to low-key work instinctively brighten their images because underexposure feels like a mistake. It is not. Mastery of this style requires accepting loss, deliberately choosing which elements to illuminate and embracing unrecoverable darkness as a creative decision.
Troubleshooting tips for common dark photography problems:
- Noisy images: Push ISO only as high as your camera handles cleanly. Use Lightroom’s AI Denoise or Photoshop’s Camera Raw filter to recover detail without smearing texture.
- Focus hunting: Switch to manual focus immediately. Use Live View zoom to confirm sharpness before shooting.
- Loss of shadow detail: Lift Shadows in post rather than pulling Blacks all the way down. Crushed blacks look flat, not dramatic.
- Uncontrolled light spill: Add a flag or black reflector to absorb stray light. Reposition your key light closer to the subject to narrow its effective spread.
- Flat, muddy images: Increase Contrast and add a cool shadow grade. Flat dark images lack the tonal separation that makes the style work.
Pro Tip: Use ND filters outdoors instead of closing your aperture to control exposure. Stopping down to f/11 to reduce light kills your shallow depth of field and the cinematic quality that defines the dark aesthetic.
Key takeaways
Dark aesthetic photography succeeds through intentional shadow control, precise camera settings, and disciplined post-processing, not through random underexposure.
| Point | Details |
|---|---|
| Start with the right gear | Full-frame cameras and fast prime lenses give you the cleanest low-light results. |
| Use hard directional light | Side lighting with flags and grids sculpts shadows and prevents unwanted light spill. |
| Shoot manually | Manual focus and manual exposure give you full control in low-contrast dark scenes. |
| Edit with restraint | Reduce exposure 1.5–2.5 stops, lift Shadows slightly, and avoid crushing blacks completely. |
| Color grade for mood | Cool shadow tones and warm highlights create the emotional depth that defines the style. |
What I have learned from shooting in the dark
Most photographers treat darkness as a problem to solve. I treat it as the subject itself. The shift in mindset changes everything about how you approach a shoot.
The hardest lesson I had to internalize was that a technically “correct” exposure is often the enemy of a great dark aesthetic image. When I stopped trying to rescue every shadow and started choosing which shadows to keep, my work became more intentional and more interesting. The acceptance of loss in imagery is not a compromise. It is the artistic decision that separates dark aesthetic photography from simply underlit snapshots.
My other strong opinion: beginners spend too much time on editing and not enough time on lighting. A well-lit dark image needs almost no editing. A poorly lit one cannot be saved in Lightroom, no matter how many sliders you move. Get the light right on set, and post-processing becomes a refinement, not a rescue operation.
Experiment with props and environments that carry the aesthetic naturally. Gothic decor, textured fabrics, and dramatic architectural elements give your shadows somewhere to live. The set is part of the image, not just a backdrop. Build it with the same intention you bring to your lighting.
— Rey
Gothic props and backdrops for your dark photography sets
The right environment makes dark aesthetic photography significantly easier to achieve. Atmospheric backdrops with texture, depth, and gothic character give your shadows natural structure and your images a sense of place.

Goth curates gothic home decor, dark textiles, and occult-inspired props that work beautifully as photography set elements. From draped velvet and wrought iron pieces to candelabras and dark art prints, the moody gothic decor available through Goth gives your shoots the atmospheric foundation that lighting alone cannot provide. Independent creators sell through the platform, so the pieces you find are distinctive rather than mass-market. Browse the Goth marketplace to find props and backdrops that match your creative vision.
FAQ
What is dark aesthetic photography?
Dark aesthetic photography is a low-key style that uses controlled shadows, selective highlights, and deliberate underexposure to create moody, dramatic images. It is defined by intentional light sculpting rather than accidental underexposure.
What camera settings work best for dark aesthetic shots?
A reliable baseline is shutter speed 1/250s, aperture f/4, and ISO 100–200 with a hard, side-positioned key light. Adjust ISO upward for darker ambient conditions and shoot in RAW format.
How do I edit dark aesthetic photos in Lightroom?
Reduce overall exposure by 1.5–2.5 stops, set Blacks to +10 to +20, and lift Shadows to +20 to +30 to preserve texture. Add cool tones to shadows and warm tones to highlights for mood.
Why does autofocus fail in dark photography?
Autofocus systems rely on contrast to lock focus, and dark scenes lack the contrast needed for reliable tracking. Manual focus with Live View zoom on a bright point in the scene solves this consistently.
How do I avoid losing detail in dark shadows?
Pull the black point down but lift the Shadows slider slightly to retain texture and form. Fully crushed blacks eliminate all detail and make shadow areas look flat rather than dramatic.